 'How hard can it be to record an acoustic guitar?' ..we've all been there and, unless you had a better kickstart than the one I had, you're in for a challenge: the subtle nuances and rich harmonic texture of the instrument make it a fascinating yet complex source to capture.
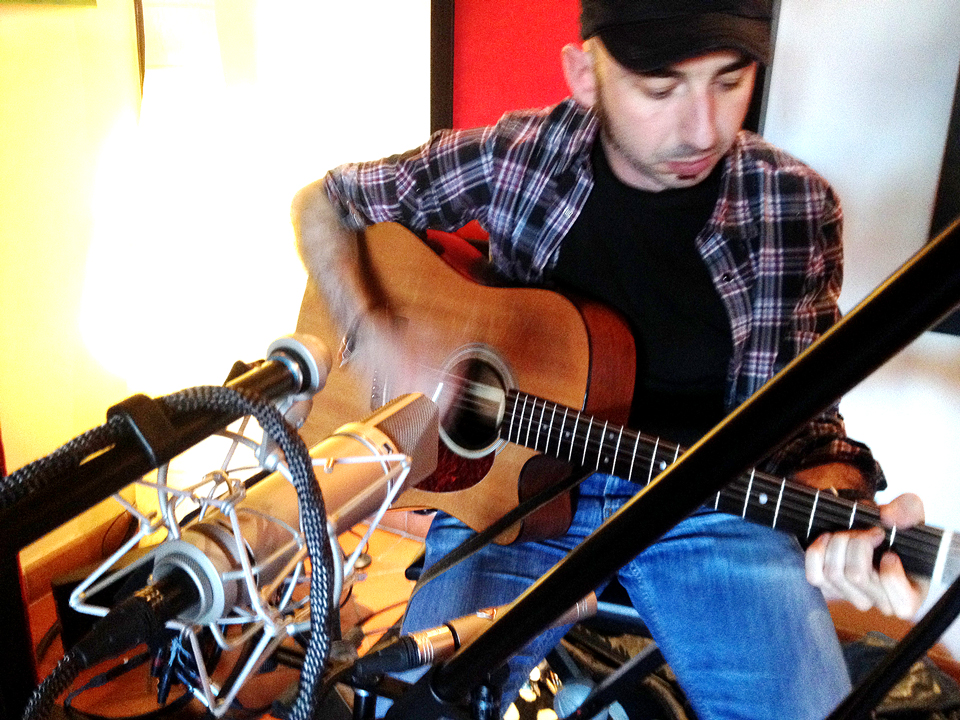
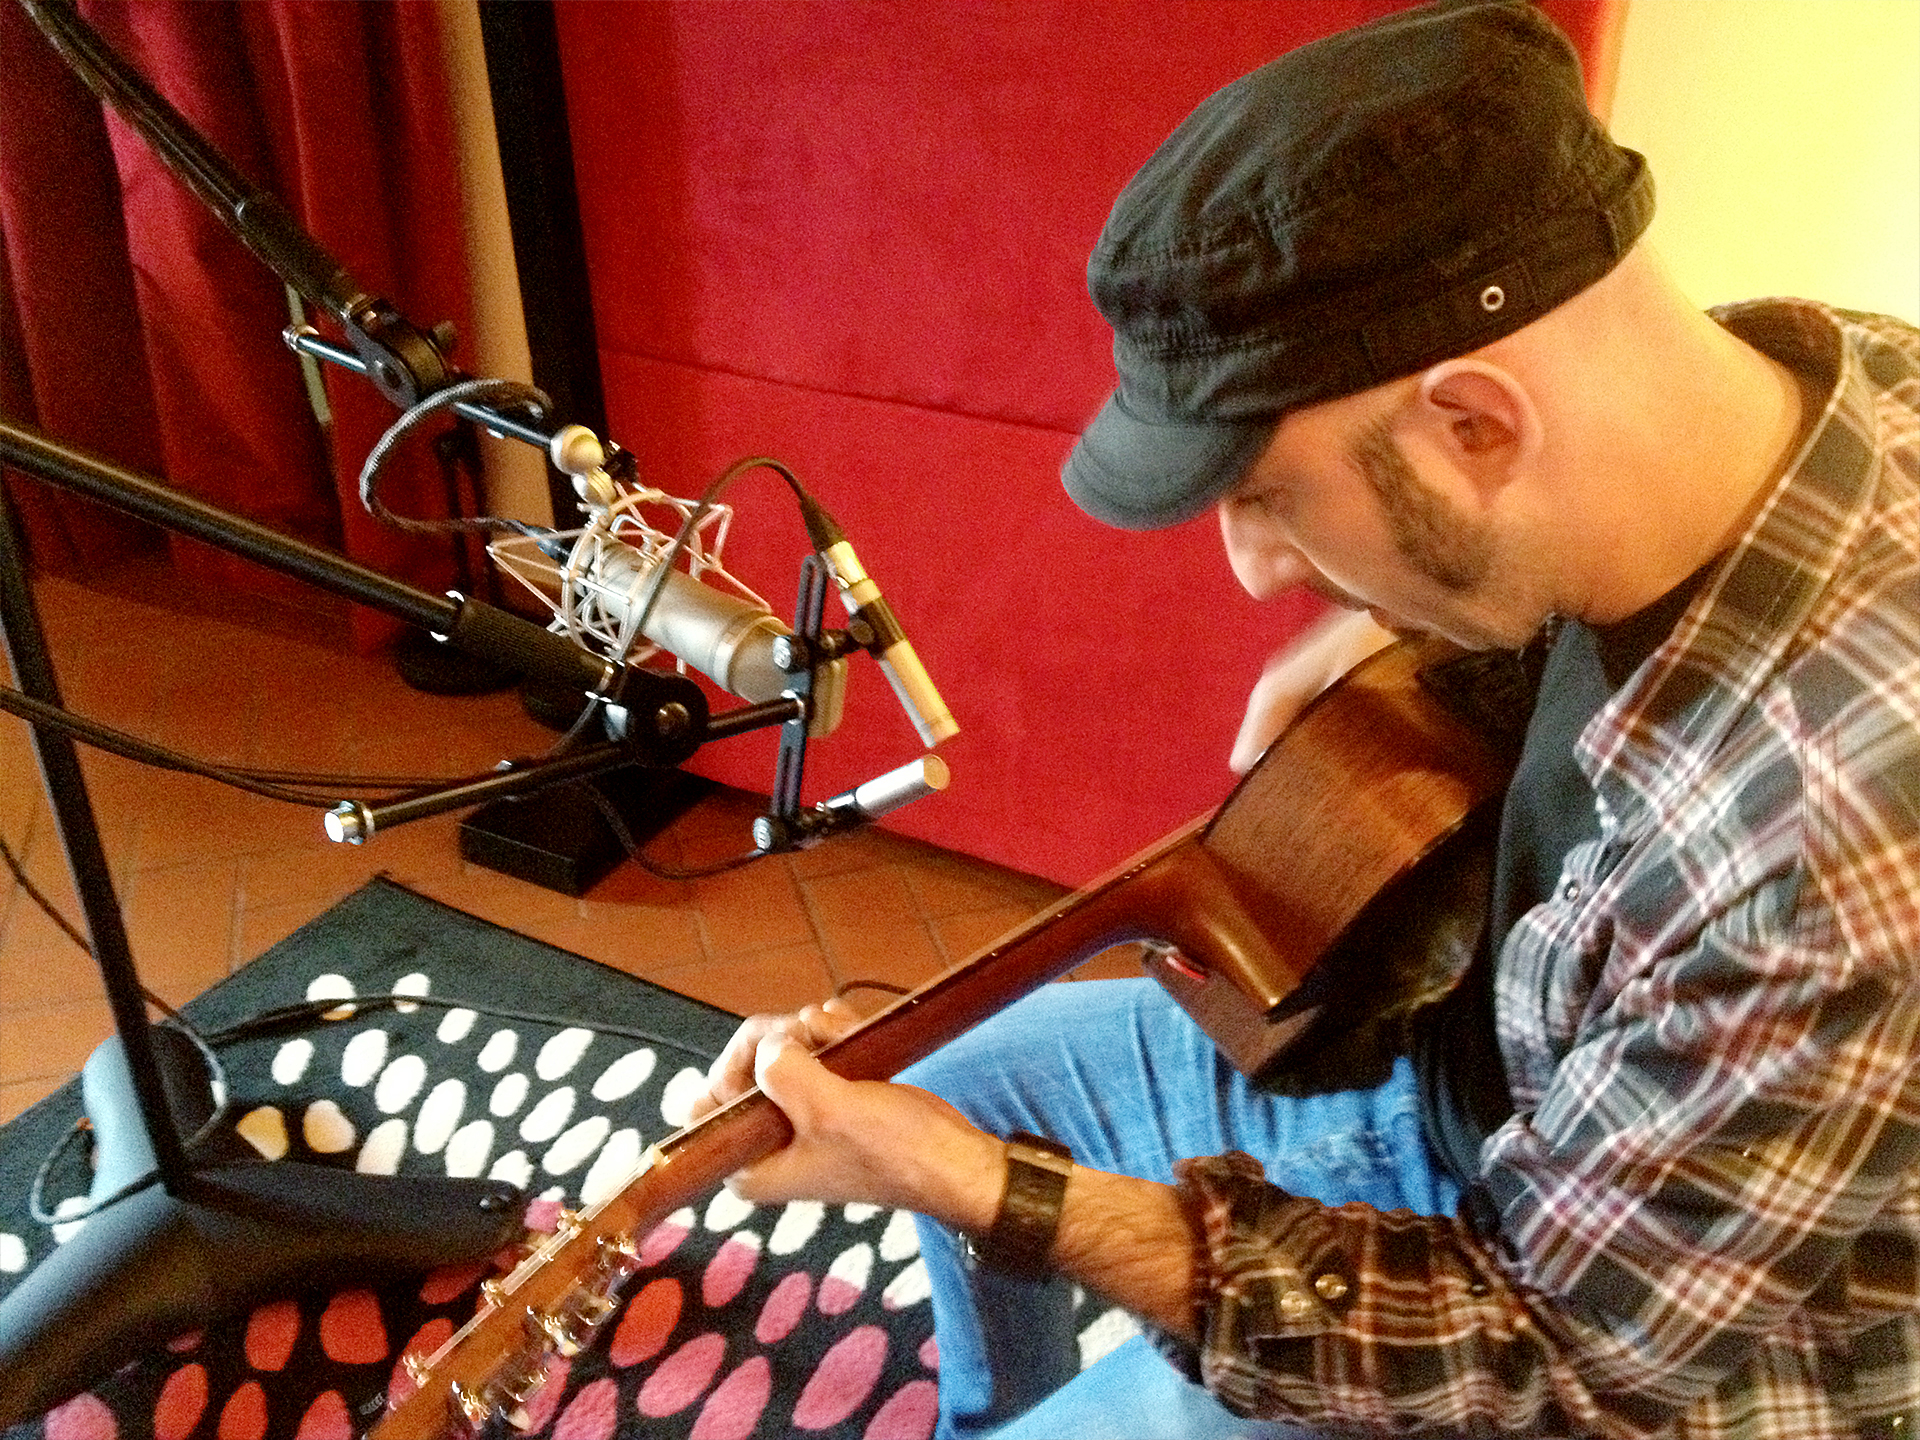
In my typical no-fuss, straight-forward approach, I decided to use a Neumann U87ai and a pair of Neumann KM-184. They are both extremely popular microphones (for a good reason) and most engineers know them very well. With no surprise in the microphones department, our attention went to mic placement and room acoustics. Each take is only balanced in volume and contains no post processing whatsoever: no EQ, dynamics, effects or anything else.
Less is more
No serious article in audio or music is ever complete without the above sentence, possibly written in bold. This article is no exception.. and to underline this, we are going to start with some basic but really effective mic placements:
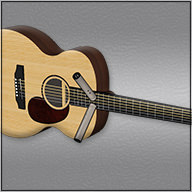
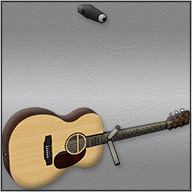
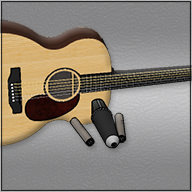
 We start from a simple configuration, something you don't usually do when you want to impress the girls in the studio.. but we are grown men and therefore show no fear in placing a single large diaphragm microphone in front of the guitar ..with a twist: instead of placing it directly in front, the U87 was angled at almost 45 degrees looking between the 12th fret and the sound hole. This mono recording contains a complete picture of the instrument and is very balanced from lows to highs. This setup is really effective. You can also record two takes of the same part and pan them left and right in the stereo field (also called 'double tracking') which is really great in creating an open yet in-your-face sound.
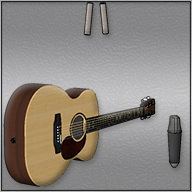
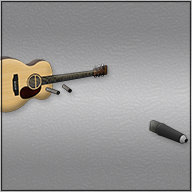
 Number two: the classic ORTF approach. I must admit I don't always follow a precise rule in angle between the two microphones but I am a believer in the effectiveness and practicality of a stereo bar. In this example you can hear how the two 184s, placed in front of the guitar, give you a rather open and functional stereo effect. It's not super ingenious but it works. Placing the microphones closer or further away can make all the difference to the sound you are looking for. Angling the microphones a bit can help even out the balance between the two microphones.
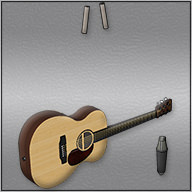
 As a third solution, the vertical X/Y placement is one of my absolute favorites. In this case the two 184s are placed vertically in an XY pattern and aimed, pretty close, at the 12th fret area. Once the two microphones are panned hard left and hard right, you will hear the strumming move across the stereo field. I've used it for finger picking, strumming, solos, backing, you name it. It's incredible how this approach sounds even more open and fulfilling than ORTF, which sometimes lacks a certain enthusiasm.
More is more (when done right)
 Moving on, we started making things more complex. Overheads: they work for drums, why shouldn't they work for guitars? We placed the 87 in front of the guitar (slightly angled) and added the two 184s in ORTF configuration, above the guitar, along the fretboard, 2.5 meters (roughly 8 feet) above the instrument.The result is, if you ask me, extremely nice and effective. It is probably a no-compromise solution: it's direct, it's open and - by adjusting the relationship in volume between your direct mic and the overheads - your guitars will sit in probably every mix you can think of.
 Then someone asked: how do you know which height is 'right' for the overheads? Instead of answering (too obvious for 2015) we lowered the 184s and recorded another take. The result is still extremely versatile but obviously different in 'air' from the previous one. I personally like the previous one better, especially in high frequencies..the strumming sounds a little phasey and I feel some of the "wood" is lost in comparison with the previous recording.
 We then moved to the previous 'Vertical X/Y' placement but, overly excited by the use of overheads and noticing the spare 87 in the room, we placed it in the same position as the previous overheads (8 feet high), looking down at the sound hole. Sounds great. Another favorite of mine, because the mono large diaphragm microphone on top of the guitar adds a more natural and 'cohesive' vision of the instrument, which blends incredibly well with the detail and stereo field of the vertical X/Y pair.
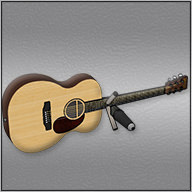 Half way into a recording workshop, it is usually when someone asks about Mid-Side. Again, instead of answering, we took the 87, switched it to a Figure-8 pattern and placed it looking 'left and right' as close as possible to the vertical X/Y placement. The result is interesting and different from straight M/S..it is still open but with a different perception of the space around the guitar.
 Then, we kept the 87 in the same position/pattern and switched the 184s to an ORTF configuration. Another interesting but different stereo field. Phase problems start to become an issue and personally, I wouldn't venture this far most of the time, unless I am after some open guitar sound that is 'everywhere' in the stereo field but does not clutter the mix and works great for staying 'behind'.
 So, with this concept in mind, I thought I could try something for 'very far behind' (while still open) and moved the 87 way in the back of the room, 3-4 meters (11-12 feet, approximately) from the source. While this might not be the most exciting setup for solo guitar, it could be your perfect 'back wall' in a mix.
This last technique is also extremely fascinating for a unique sense of depth that it creates, and I want to share this with you: think about photography and how you usually take pictures that emphasize strong lines going across the picture (eg: a road going from the top-left to the bottom-right of the image). A picture like that is able to convey a stronger sense of depth and counteract the fact that a camera is only a "single eye" that in itself has no sense of perspective (try closing on eye and see if you can "feel" distance the same way). This visual reference is key to explaining the sound of this last recording technique: you can feel a certain depth from front to back but (try with headphones) with tighter strumming you are able to perceive it left-to-right as well, thus creating a "diagonal" sense of depth in the stereo field, that makes use of both "front and rear" and "left and right" to achieve perspective. I don't know you, but I find this incredibly cool!
This concludes the examples in our workshop. Feel free to jump back and forth to each and every example, then (and only then) keep reading the..
Conclusions and brain-storming
1. This article represent neither "the best", "the only" or "the sexiest" microphone techniques for recording an acoustic guitar: the intended purpose is to stimulate you to experiment while still providing a reference for your ears and a way to train your musical thinking into achieving your intended result. Don't be scared to make mistakes! If I was sure I could not make mistakes when working on a record, I'd rather go fishing (where I know I can make lots).
2. Don't fight the instrument: it is impossible that you get every single chord and passage of a take in perfect-sounding correlation (phase) between the microphones. Even if you could, it would probably sound bad and not musical.
3. Start with one microphone and find the placement that gives you the best sound for your intended purpose. Question yourself if you want to spend more time adding other microphones..if you do, always consider them as 'complement' to the one you placed.
4. Only change one variable at the time during tests..otherwise you are going to be in deep trouble (and bore musicians to death)
 Big thumbs up for my friend and colleague Niccolo' "Nikko" Menichini who helped me with this article by playing guitar and being patient while I waved microphones and heavy stands around him. Niccolò is a guitarist from Tuscany, Italy. Like me, he's a graduate at the good ol' Musicians Institute in Los Angeles. He got to perform in venues like then House of Blues, Whisky a Go Go and The Mint with singers/songwriters and bands like Erin Davis -Miles-, Anna Su, Mr. Fari, Lucas Jackman and others. He's also a music producer and composer for "E entertainment" TV channel. He keeps himself busy as a session guitarist in the Italian pop-rock scene and he's also a well established guitar instructor. Pay him a visit at: http://www.nikkomenichini.com - I know he will appreciate.

Alberto Rizzo Schettino is a pianist, synth head, audio engineer and part of the Puremix family since 2013. He is the owner of Fuseroom Recording Studio in Berlin and works as a product specialist for some of the best brands in high-end audio gear.
Fuseroom Recording Studio: http://www.fuseroom.com
Alberto's Web Site: http://www.albertorizzoschettino.net