If you want to get the most from a tape emulation plug-in, it’s helpful to understand the nuances of an analog tape machines. That’s particularly true with a tape plug-in like the UAD Ampex ATR-102, because of how accurately its emulation is of the features and sound quality of that classic 2-track recorder.
In Start to Finish: Jacquire King - Episode 18 - The Mix Bus Processing, Jacquire uses the ATR-102 plug-in on the 2-bus of the mix of “Keep the Light On” by Oak and Ash, and explains some of the key parameters available on it—including tape formula, calibration level, tape speed, EQ curve and bias—and the rationale for his settings.
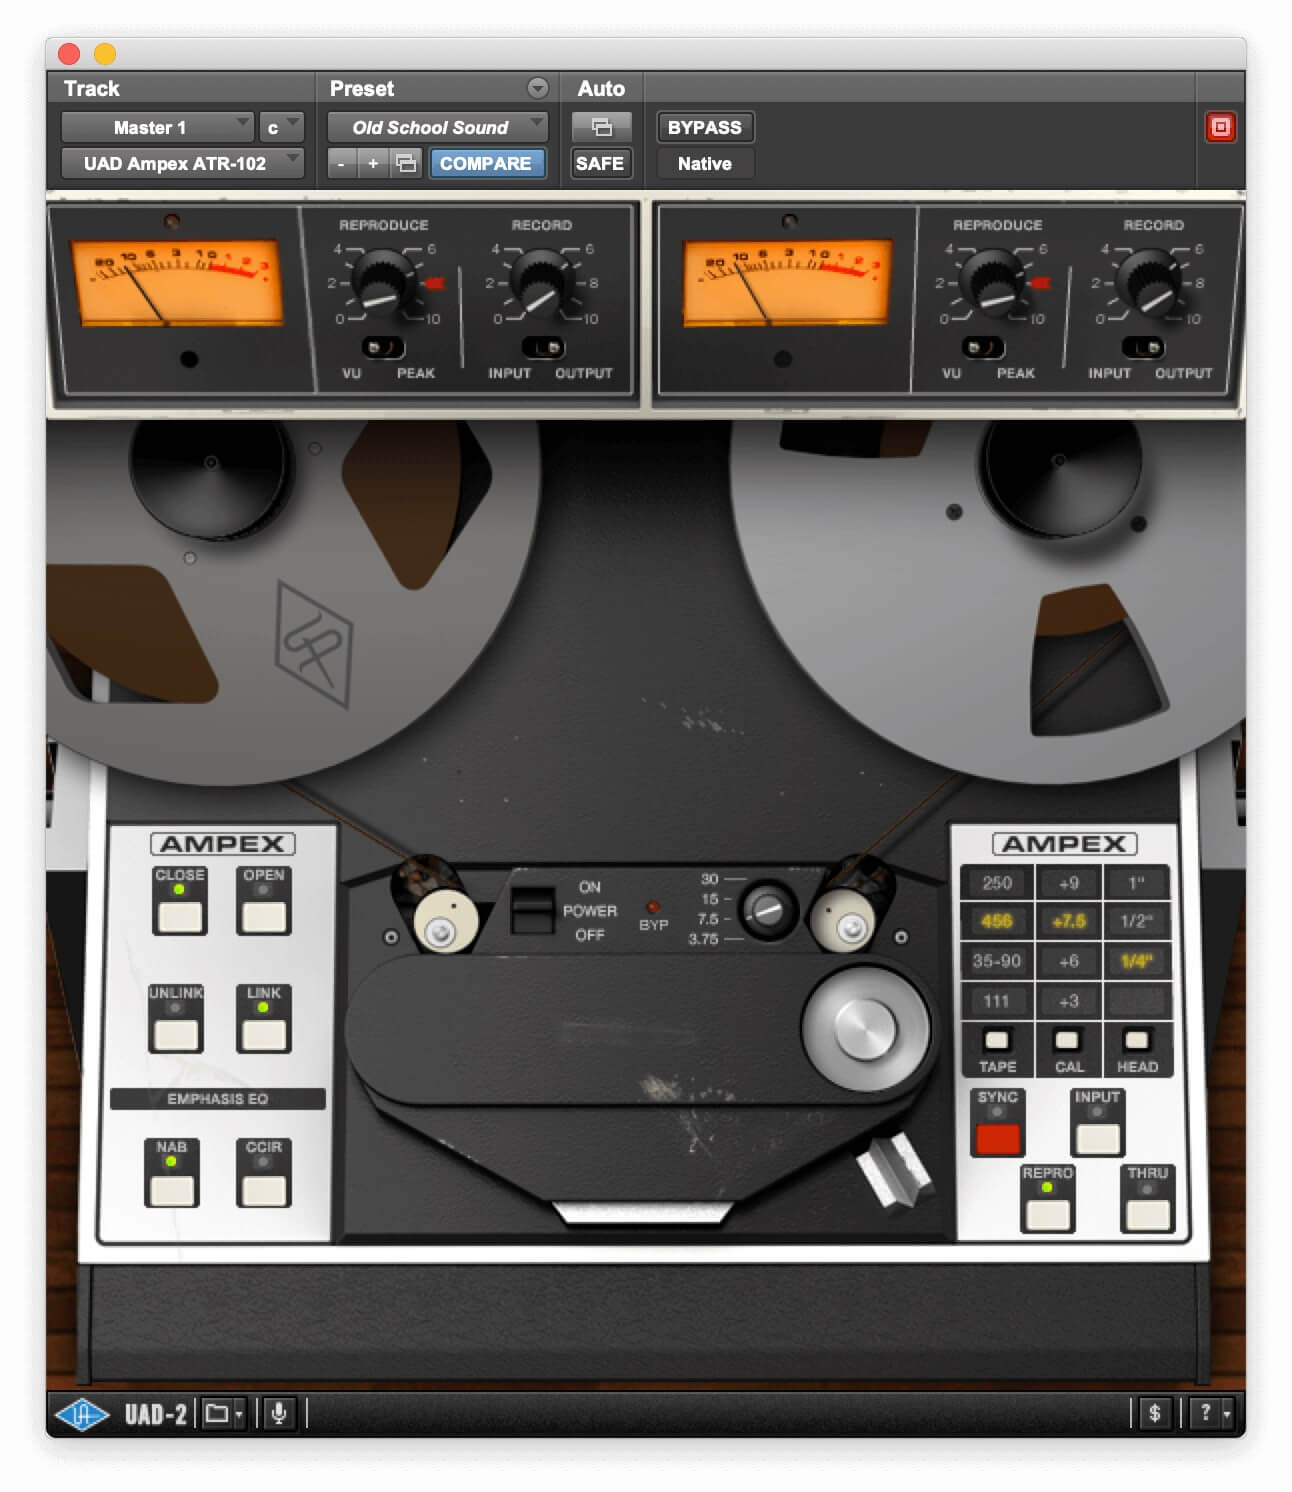
The UAD Ampex ATR-102 offers a realistic emulation of the features and sound of the tape machine it’s modeled from.
Formula for Success
The Ampex ATR-102 plug-in lets you select from a number of different virtual tape formulations. Jacquire explains that differences in the tape formulations are based around how much magnetic energy (aka “fluxivity”) the tape can absorb, with 0VU as a reference point. The tape formulation numbers are based on actual tape types that were on the market and the plug-in simulates their characteristics.
Jacquire chooses the 900 formula option. He says it will provide a more modern sound, with better bass response and a more open high-end than he’d get with 456, which he says is too “vintage sounding.”
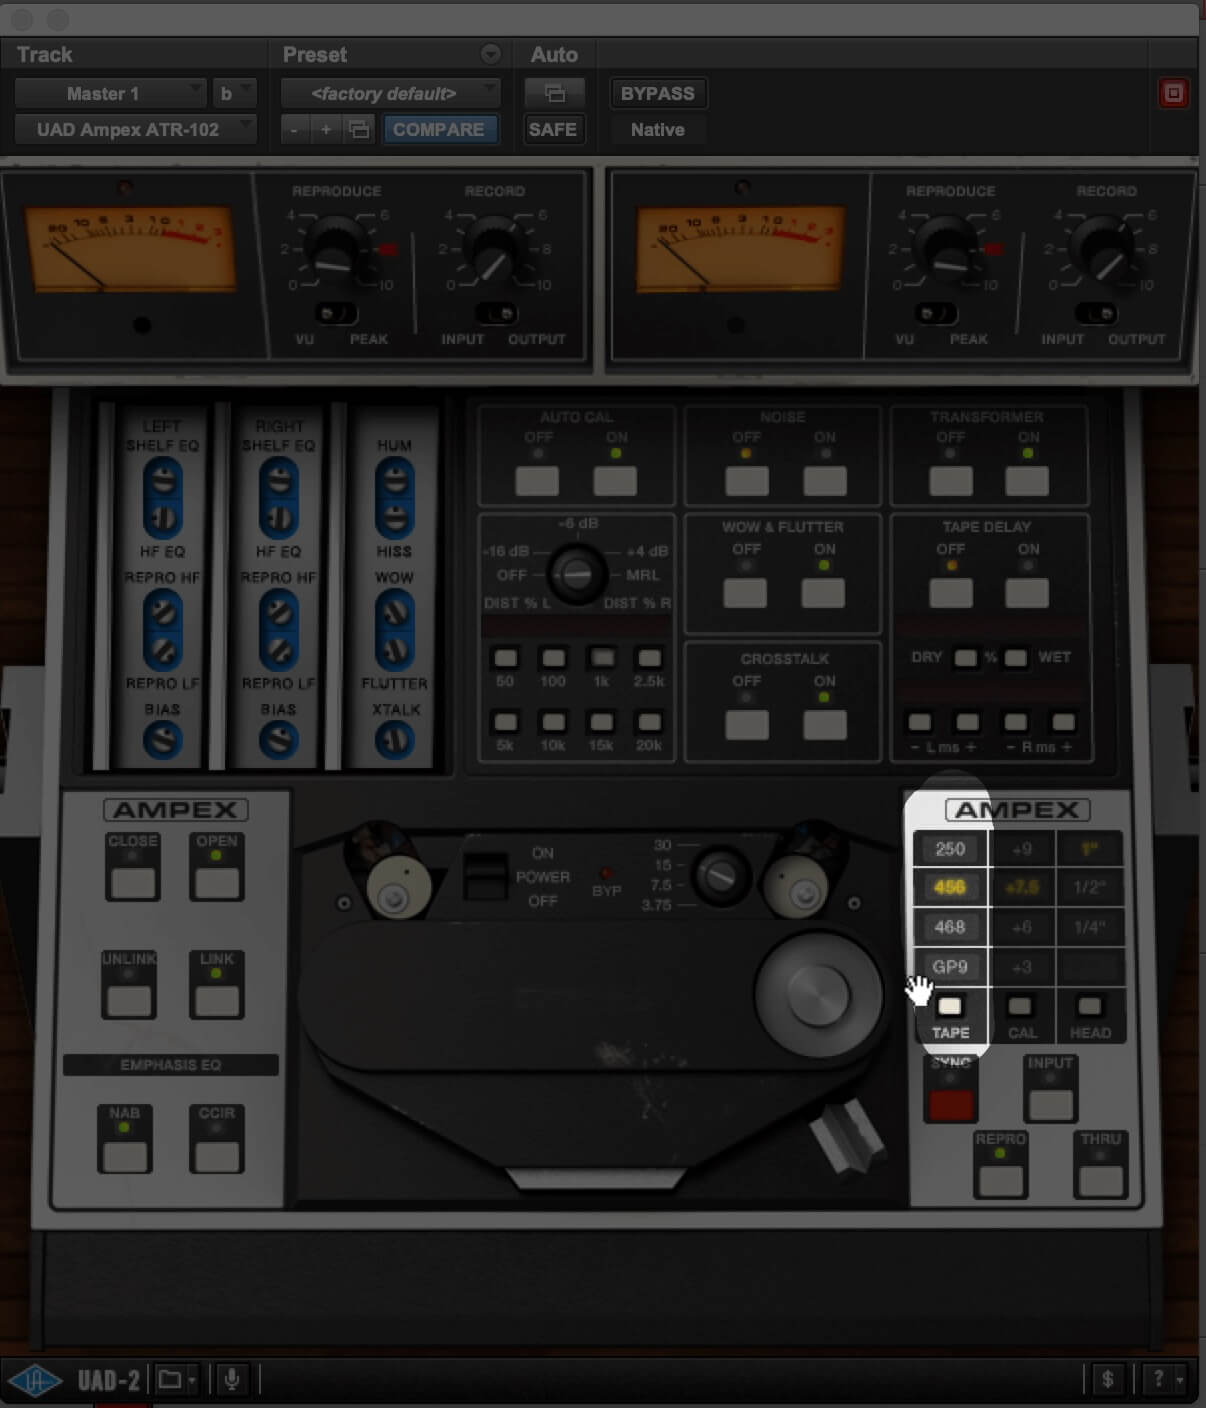
You can choose from several tape formulations in the ATR-102 plug-in.
A variable related to the tape type is the operating level (aka “calibration level”), which is adjustable in the plug-in. For example, on a machine that was calibrated to +6dB, a signal reaching 0VU on its meters is actually 3dB louder than one calibrated to +3dB. Jacquire points out that 456 tape was generally meant to be calibrated to +3dB or +6dB.
The higher numbered tape formulations, for example 900, were able to handle greater operating levels before saturation. The biggest advantage of more level on actual tape recorder is that it gives you a better signal-to-noise ratio when recording.
Jacquire ends up setting the calibration level to +7.5dB. He explains that it offers the best combination of punchiness (transient energy) and saturation. He didn’t choose +9dB because it would simulate even hotter levels going to tape and possibly create too much saturation and not enough punch.
Speed Demon
Another variable that Jacquire sets is tape speed. On a real tape machine, the faster the tape moves past the record head, the more tape is used to record each second of audio. Faster tape speed means increased resolution, which results in more clarity and high-end response.
Higher tape speeds yield more sonic clarity, but the fastest isn’t always the best choice for a song.
That said, it’s not a slam dunk that you’d always prefer 30ips (inches per second) to 15ips. One reason is something called a head bump, which is a low-frequency build-up that occurs on analog tape machines—and is simulated in the plug-in. That phenomenon results in 15ips providing better bass response than 30ips. The UAD ATR-102 simulates the sound of the different tape speeds.
In the first example, you’ll hear an ATR-102 plug-in set to 30ips on a full mix.
This time the tape speed is set to 15ips. If you focus on the kick drum and bass, you’ll hear the subtle head bump.
If you were recording jazz or classical with analog tape, you’d probably opt for 30ips, because that will give you the clearest, most natural reproduction. But for a pop-rock song like “Keep the Light On,” Jacquire chooses the 15ips setting on the plug-in. Not only does he like the bass response at 15ips, but he feels that that setting provides more “character.”
Depending on the tape speed, you get different choices for the Emphasis EQ, which controls the standardized EQ curves for various tape types. At 30ips, it’s a fixed setting, because there was only one type of EQ curve (published by AES) used for recording at that speed.
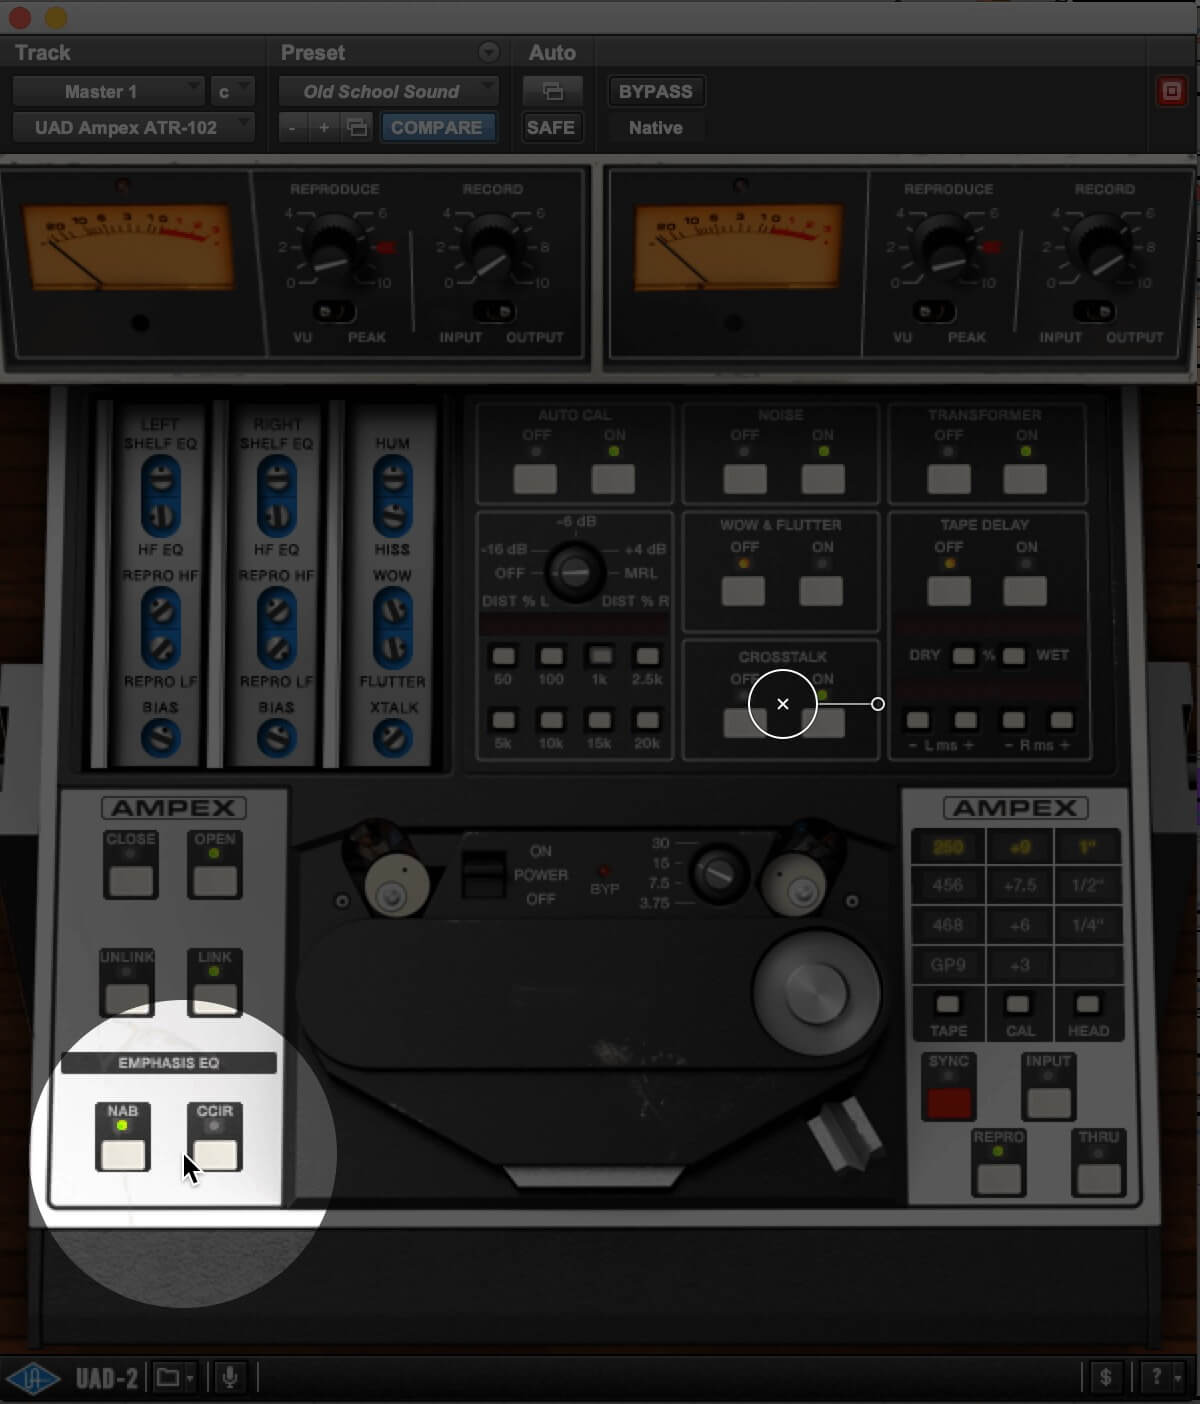
On the ATR-102 plug-in, tape speed dictates which Emphasis EQ choices are available.
At 15ips, however, there were two different options. One is the American standard, published by the NAB, and the other is the European CPIR standard. The former offers more low-frequency emphasis whereas the latter emphasizes highs. Jacquire says that because the mix included aggressive cymbals and guitars, and a lead vocal in a high register, he didn’t want to exaggerate the brightness further, so he chose the NAB curve.
Double Wide
Head Width (aka “tape width”) is another adjustable parameter that the ATR-102 plug-in offers. You can choose between 1/4”, 1/2” and 1” settings. Similar to tape speed, tape width determines resolution, because the wider the tape, the more physical space there is to print the magnetic particles. Wider tape manifests itself in better high-end response, greater dynamic range and higher signal-to-noise ratio.
Here’s an example with the tape width set to 1/4”.
This is the same example with the tape width set to 1/2.” Listen for the difference in the high frequencies.
Like with tape speed, Jacquire doesn’t choose the highest resolution setting. He opts for 1/2” instead, going for vibe more than pristine sound. He says 1/2” has a “little more color” than the other choices.
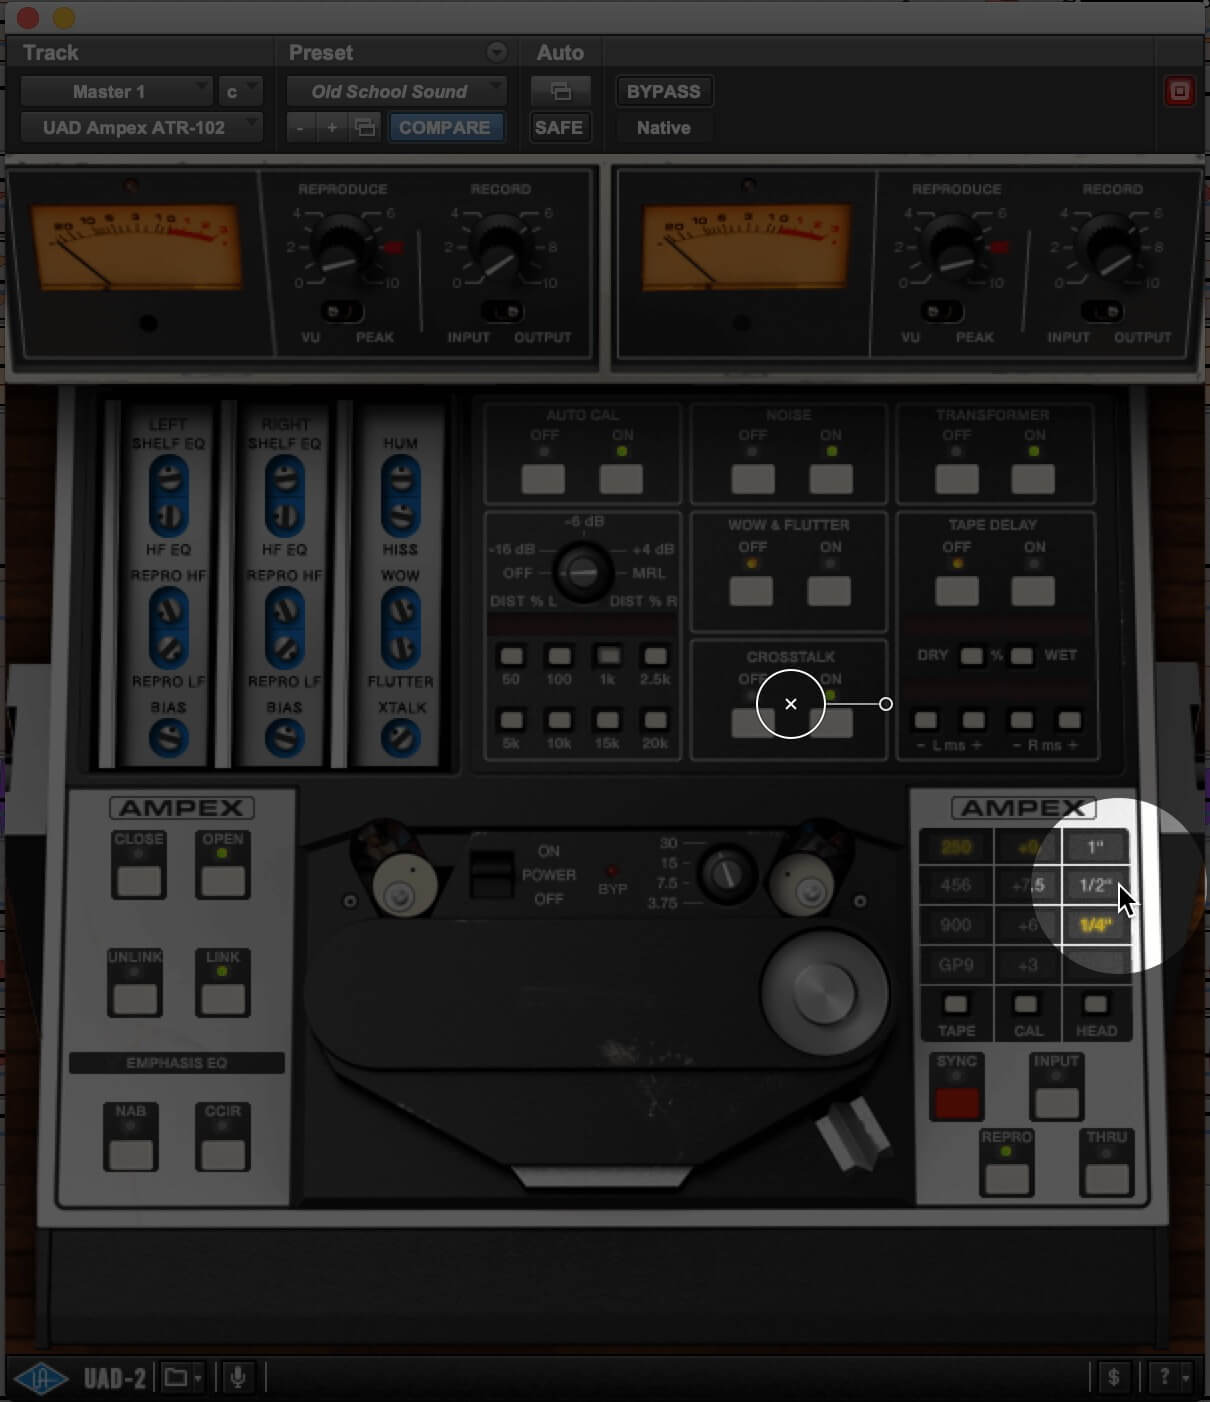
Head width choices on the ATR-102.
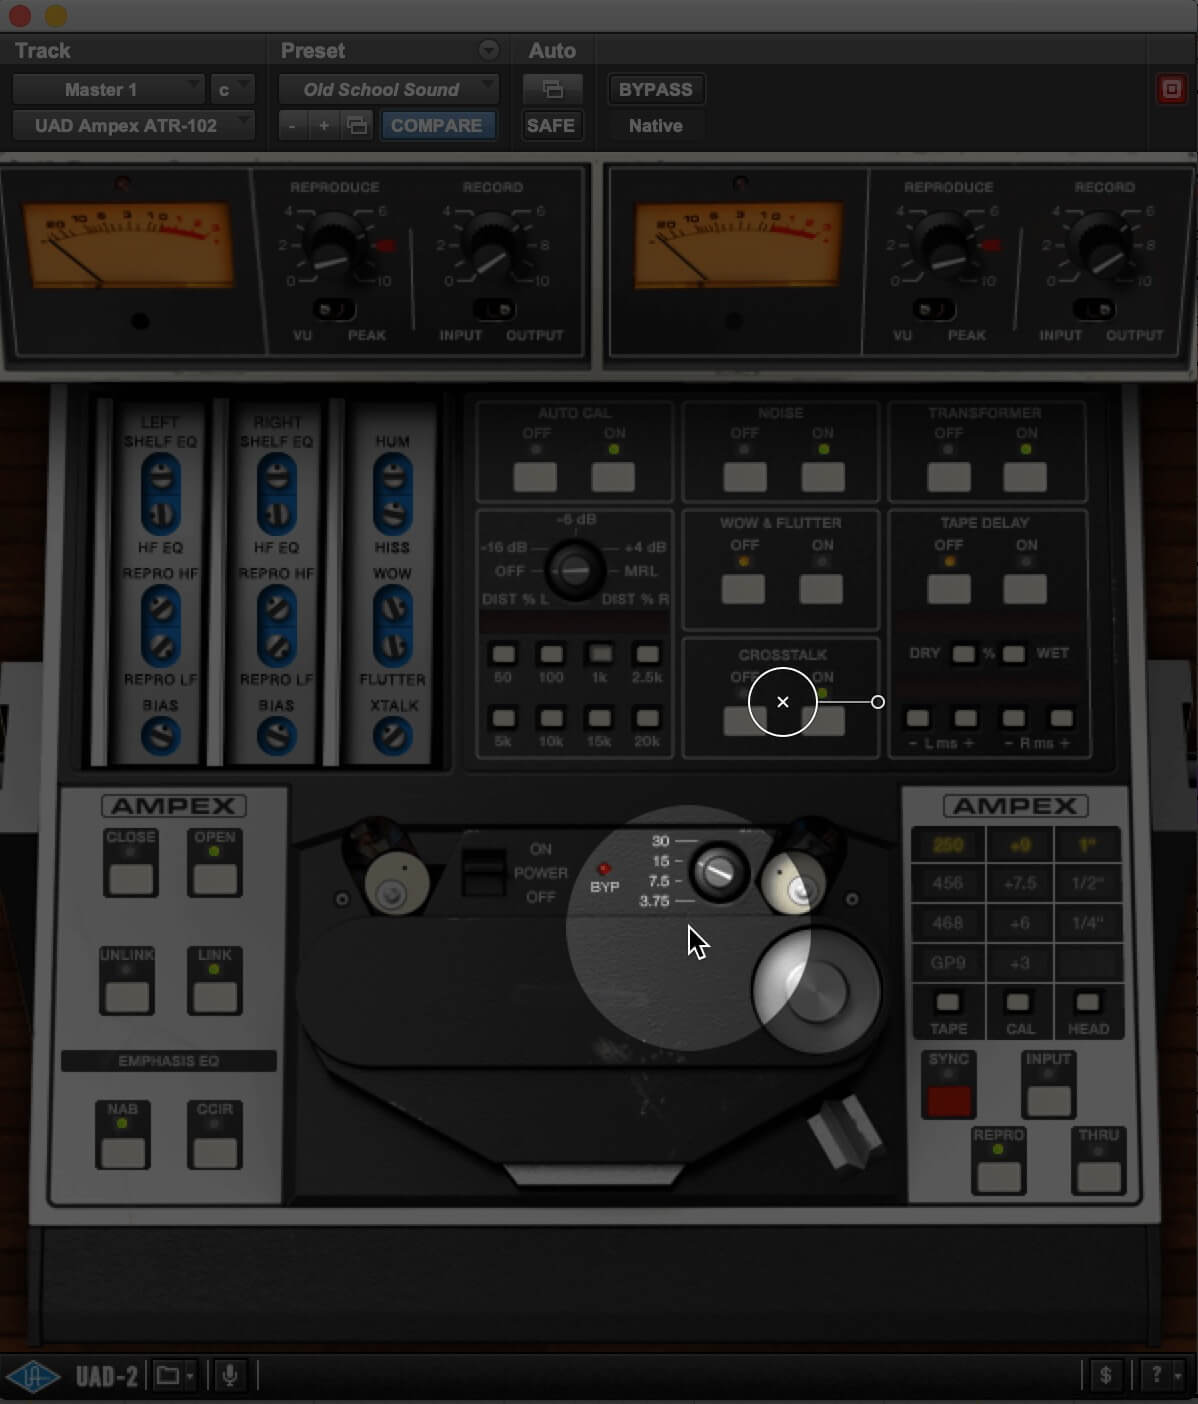
The Good Kind of Bias
After saving the settings he’s made so far, so that he can A/B them against any additional changes, he moves on to adjusting the Bias control.
Bias is a ultra-high frequency current (about 100kHz, well above human hearing) that’s applied to the tape path during the recording process. It helps excite the magnetic particles. It assures that the tape is equally sensitive at any point during the recording.

The Bias level is set automatically when the Auto Cal is on.
Turning the bias higher than it would normally be when the machine is properly calibrated is called “overbiasing,” and it can create tape compression. Jacquire says he likes underbiasing, which makes it a little darker and thicker sounding.
It’s Automatic
One of the most important buttons on the ATR-102 plug-in is called Auto Cal. When it’s on it automatically adjusts the calibration characteristics such as Bias and the Record and Repro EQ based on the selection of tape type, operating level and tape width.
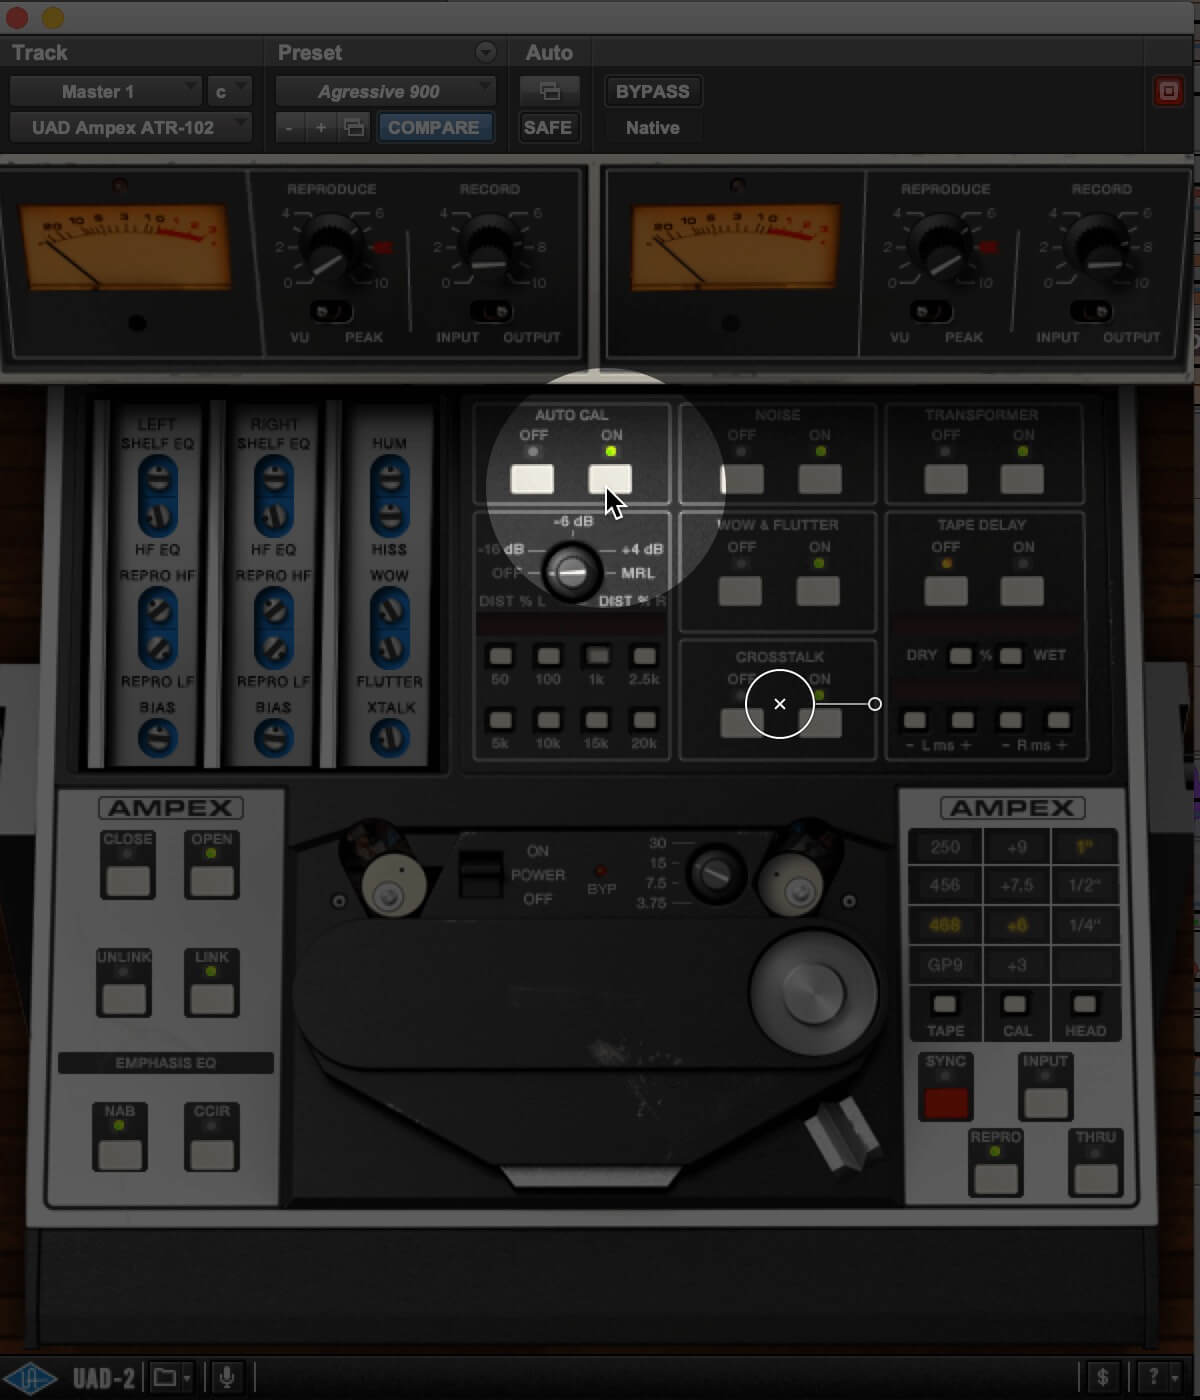
The Auto Cal feature automatically keeps the plug-in calibrated when you switch settings like tape type, tape speed and head width.
If you have it on and you switch any of those variables, you’ll see the settings change on their own. When everything is correctly calibrated, the differences between tape types, speed, and so forth are relatively subtle, such as those comparisons you heard on “Keep the Light On” in the excerpt.
However, when you turn Auto Cal off, adjustments you make to tape type, formula and tape width will create more pronounced differences because the bias and EQ functions of the plug-in won’t change to compensate. If you want to get creative, try turning Auto Cal off and start experimenting. If you’d rather stick to a more “authentic” analog tape experience, keep it on.
Whether you have the Auto Cal on or off, you can always create saturation by turning up the Input knob at the top of the GUI until the levels go well into the red on the meters.
Character Builder
Tape plug-ins like the UAD Ampex ATR-102 can add everything from subtle character and thickness to more obvious saturation.
Here’s an example with the ATR-102 bypassed.
This time the plug-in is active. It’s set for 468 tape at 15ips and 1” head width with Auto Cal on. Notice the additional high-end and glue in the sound.
Tape plug-ins are not just for use on the master bus. They’re also excellent on individual instruments, too. When applied subtly, they can also help add character during the mastering process.
Audio examples from “The Road to El Dorado,” by SarlinLevine.