If you’ve watched any of the first ten episodes of Start To Finish with ill Factor, Jimmy Douglass, Dave Kutch, which chronicles the writing and production of the song “Light Shine Through,” you will have noticed that ill Factor does his production in Ableton Live. Later in the series, starting at episode 11, Jimmy Douglass will mix the song in Pro Tools, but episodes 1-10 are all Ableton, all the time.
While tracking the vocal parts, ill Factor uses Ableton Live comping features to assemble the lead vocal track. For those unfamiliar, comping (short for “compositing”) is the process of assembling a final version of a part, whether vocal or instrumental, using the best sections of multiple takes.

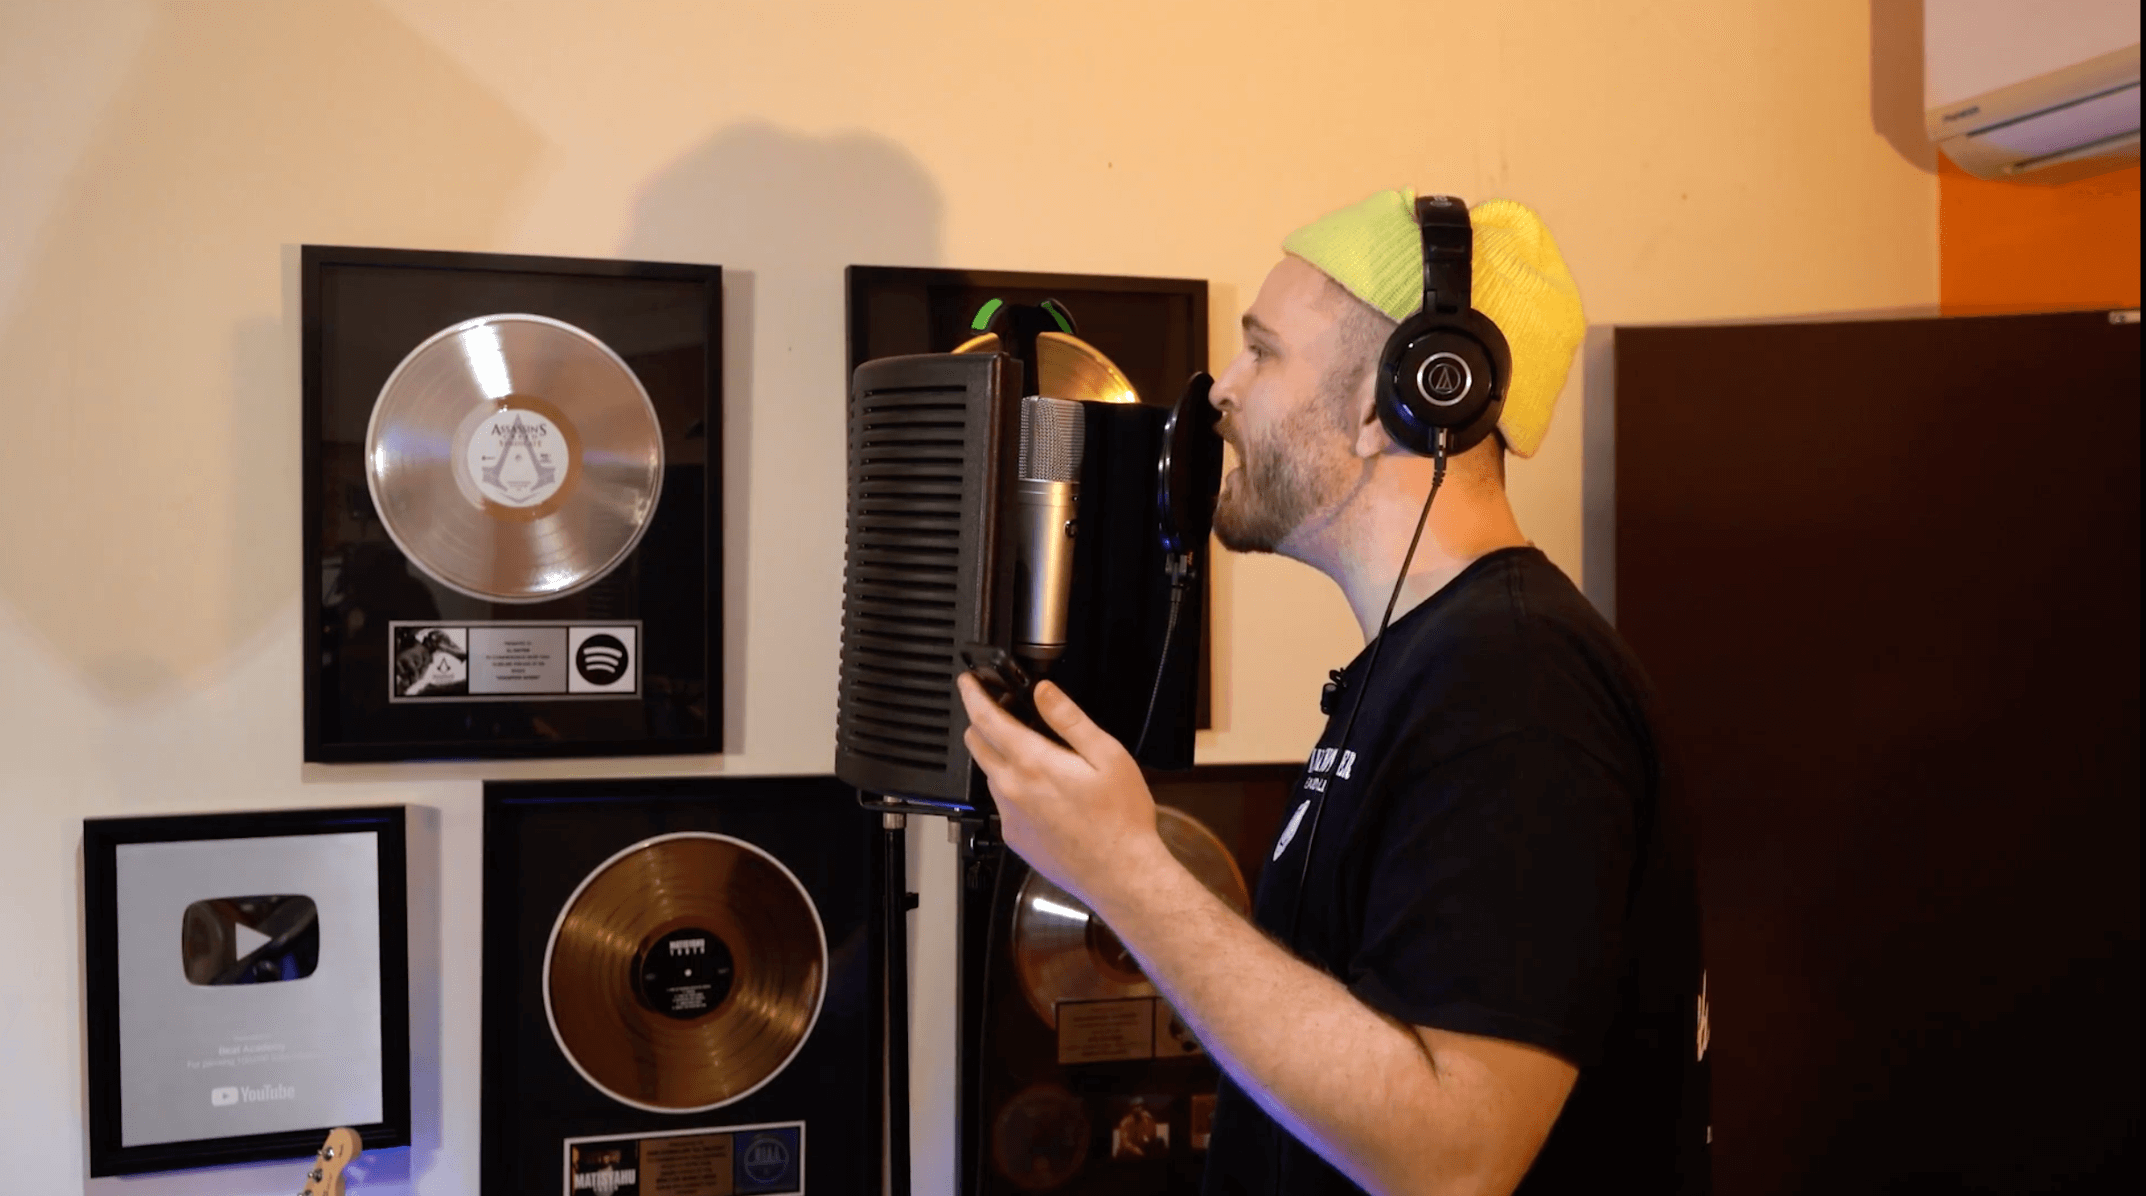
Jared Evan singing the lead vocal for “Light Shine Through.”
Give and Take with
Typically, an artist will sing several full versions of a vocal part during a session. They could be complete passes or maybe the producer will periodically stop the recording in the middle of a take and have the singer replace a line via punch-in.
Eventually, the producer will comp the best phrases or even words from the various takes into a single composite track. The comping feature in Ableton Live is pretty simple to use and is much like similar features in other DAWs. When you’re working in Live, you do your comping from the Arrangement view. Before talking about how to comp multiple takes in Ableton Live, let’s look at the various options for recording them.
Let’s say you wanted to record several passes of a verse vocal. An easy method would be to use Live’s loop record feature. Activate the Loop switch at the top of the screen. Drag the two-sided slider that’s just above the tracks (called the Loop Brace) to set up the loop zone.

Use the Loop Brace to set the boundaries of the loop.
Before you get started recording in Ableton or any other recording software, set the click track for a 1- or 2-bar count-off. You can adjust the count-off options from the pull-down menu on the Metronome, located on the upper left. It’s also important to add an extra measure to the loop range, either before or after the section you’re recording. That will give the vocalist a chance to get ready to start singing the part after one take ends and before the next begins. Otherwise, it can be challenging to come in on time.

Adding an extra measure to the loop gives the singer or musician time to lock back in with the click before the next loop-recorded take starts.
Another way to record multiple takes is to capture them via a series of independent takes over the same track. It will seem like you’re writing over what you recorded, but Live remembers the previous takes, and once you press the Show Take Lanes command (Command+Alt+U on Mac or Control+Alt+U on Windows), you’ll see all of your takes, numbered sequentially.

Take Lanes underneath the active take.
Comp your track with Ableton
Ableton Live automatically creates a Take Lane for each new recording, whether you’re using the loop record function or just overdubbing on top of a previous take. Each Take Lane has a track header that says “Lane” and a loudspeaker icon that lets you turn on Audition Mode to make that Lane audible during playback. Click it, and you’ll hear it rather than the top take (which is normally the one you’d hear), Which is referred to as the Main Lane. When you put a Take Lane into Audition Mode, Live highlights it and grays out the Main Lane.

Clicking the loudspeaker icon puts a Take Lane into Audition mode.
Once you’ve decided on a section you want to use in the comp, select it by dragging horizontally in its Take Lane and press the Enter button (the Return button on some keyboards) or right-click the selection and choose Copy Selection to Main Lane. You’ll see your selection replace the corresponding part of the Main Lane. Repeat this process as many times as needed to assemble your comp.

The selected sections of the Take Lanes appear in the Mane Lane.
Although comping alters the contents of the Main Lane, it doesn’t permanently erase anything. Live keeps a copy of every take. Your most recent one will show up as the highest-numbered Take Lane.
In Live, not only can you comp audio tracks, but MIDI tracks, too. The method is the same.

You can comp MIDI tracks using the same method as with audio tracks.
Click Away in Ableton
When you use Live’s comping feature on an audio track, it puts the various sections that you choose end-to-end in the Main Lane. At any edit point, there’s always the possibility that you’ll get clicks where one Clip ends and the next one begins.
One way to handle that is to manually add crossfades where needed. But you can save a lot of time by turning on automatic crossfading. Go to the Preferences located under the Live menu. And in the Record Warp Launch section, turn on Create Fades on Clip Edges. That will tell Live to add a 4ms crossfade between each Clip the next time you use the comping features.

It’s helpful to have the Create Fades on Clip Edges preference activated before comping.
You can also add the crossfades after you record by selecting all the Clips in all the Take Lanes and pressing Command+Alt+F on Mac or Control+Alt+F on Windows.