In this excerpt from the video "Fab Mixing TMBOY," we join Fab DuPont as he contemplates what kind of master bus compression to apply on his mix of the song, "The Light." After playing back a portion of the mix, he says he's watching the (master) meter and it's moving too fast. He decides to open up the UAD SSL G Buss Compressor plug-in.
He wants to slow the needles down. What he means by that is to decrease the dynamic range, which gives the mix more density. In other words, by compressing the peaks a little, which reduces the difference between the loudest and quietest parts, the whole mix will sound denser. You'll hear the lower-level elements a little more and the loudest, peaky elements a little less.
LET IT REIGN
Fab says there are several approaches to setting a bus compressor. In this instance, he's going to apply parallel compression. First, though, he demonstrates some other alternatives.
He says one way to use the bus compressor is to set it to simply to reign things in. Again, he's referring to the dynamic range and the transients. He leaves the Threshold at its highest setting, Attack at 1 (which is a little bit faster than the midpoint), Makeup Gain about 8 o'clock, Release on Auto and Ratio on 2:1. Note, that even though the Threshold is at its highest setting, he's still getting some gain reduction. That's a function of this particular compressor. The majority of compressors will give you no reduction if you leave the threshold all the way up.
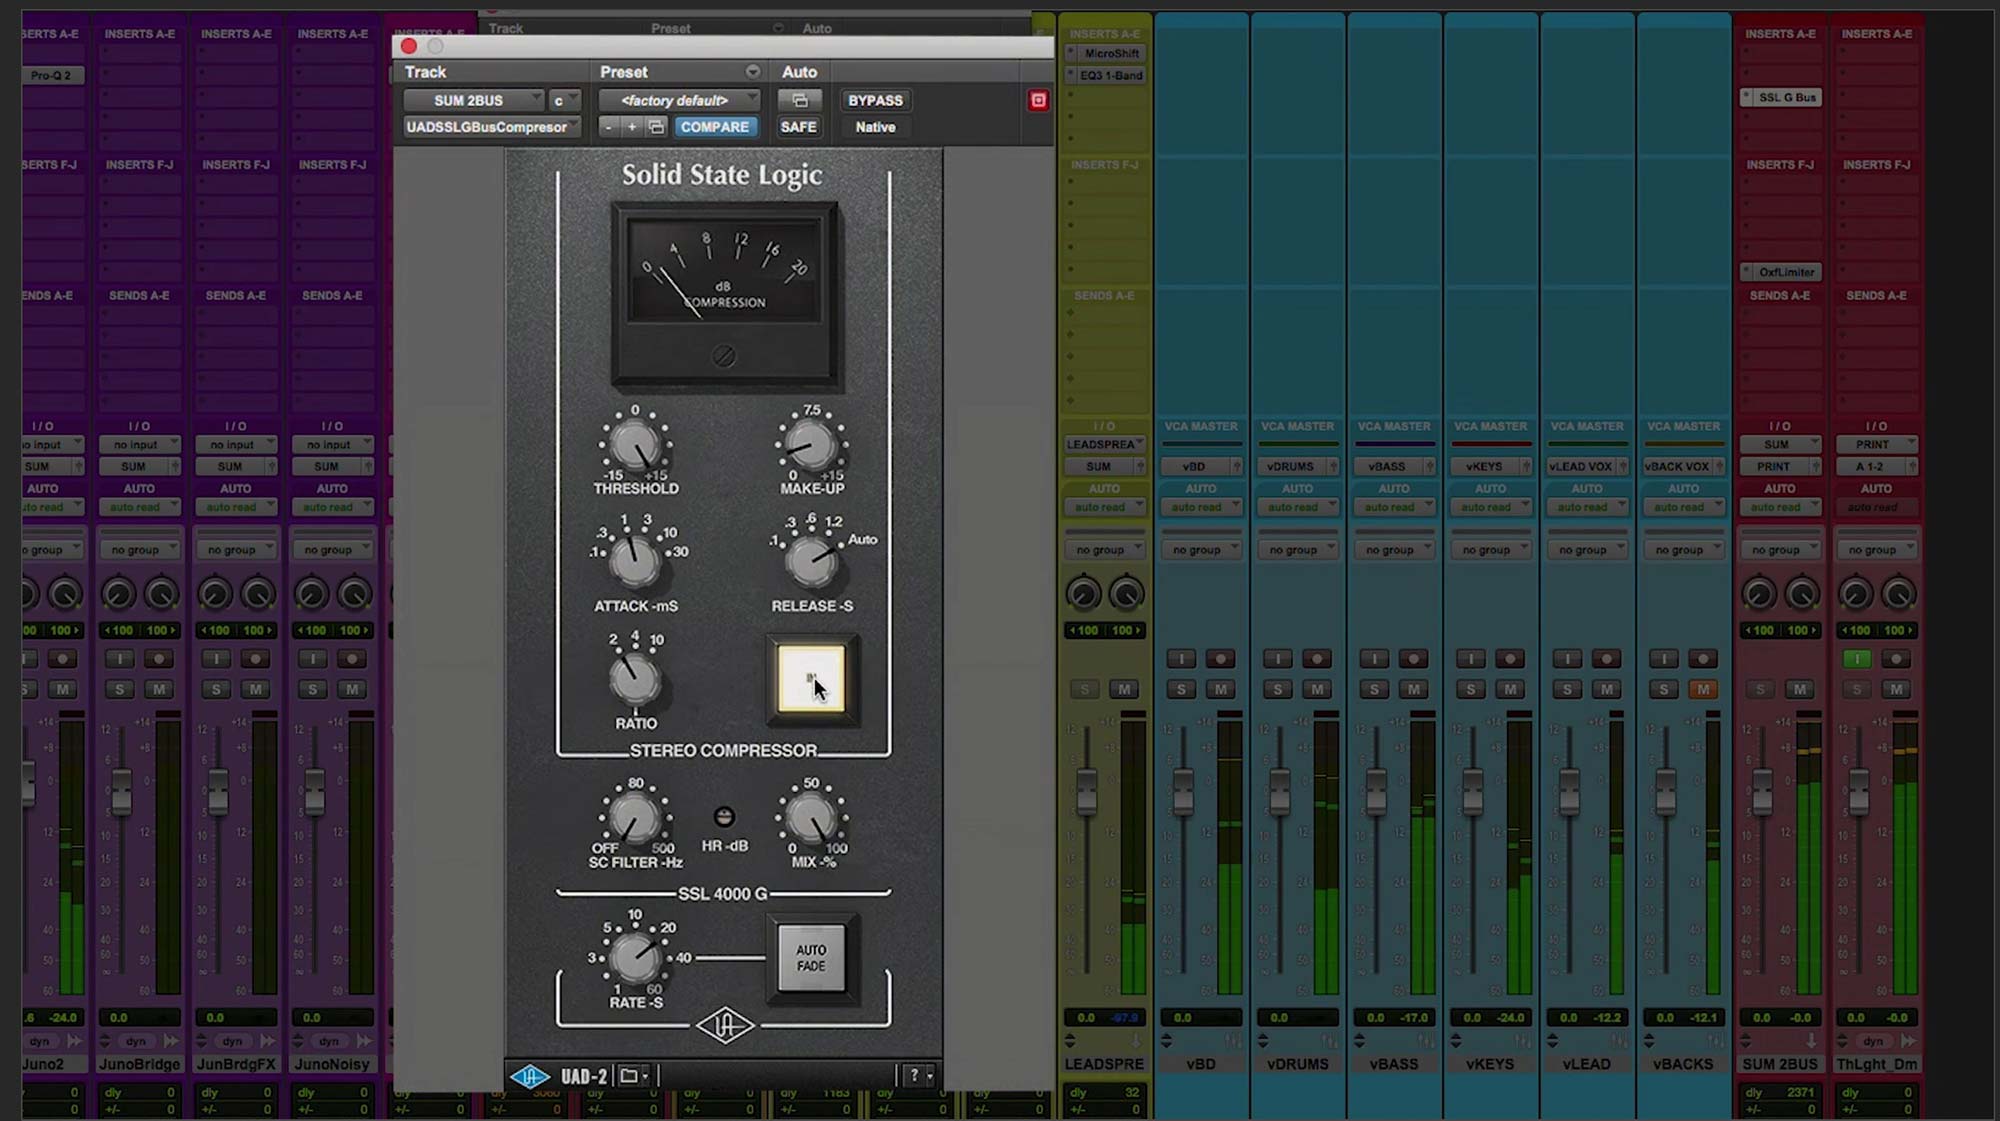
Fab's initial setting with relatively fast Attack and Auto Release.
Fab compares the mix with and without compression. He says that at the settings he used were successful at bringing everything in, and he also mentions the high-pass-filtering effect that's characteristic of the SSL Bus compressor.
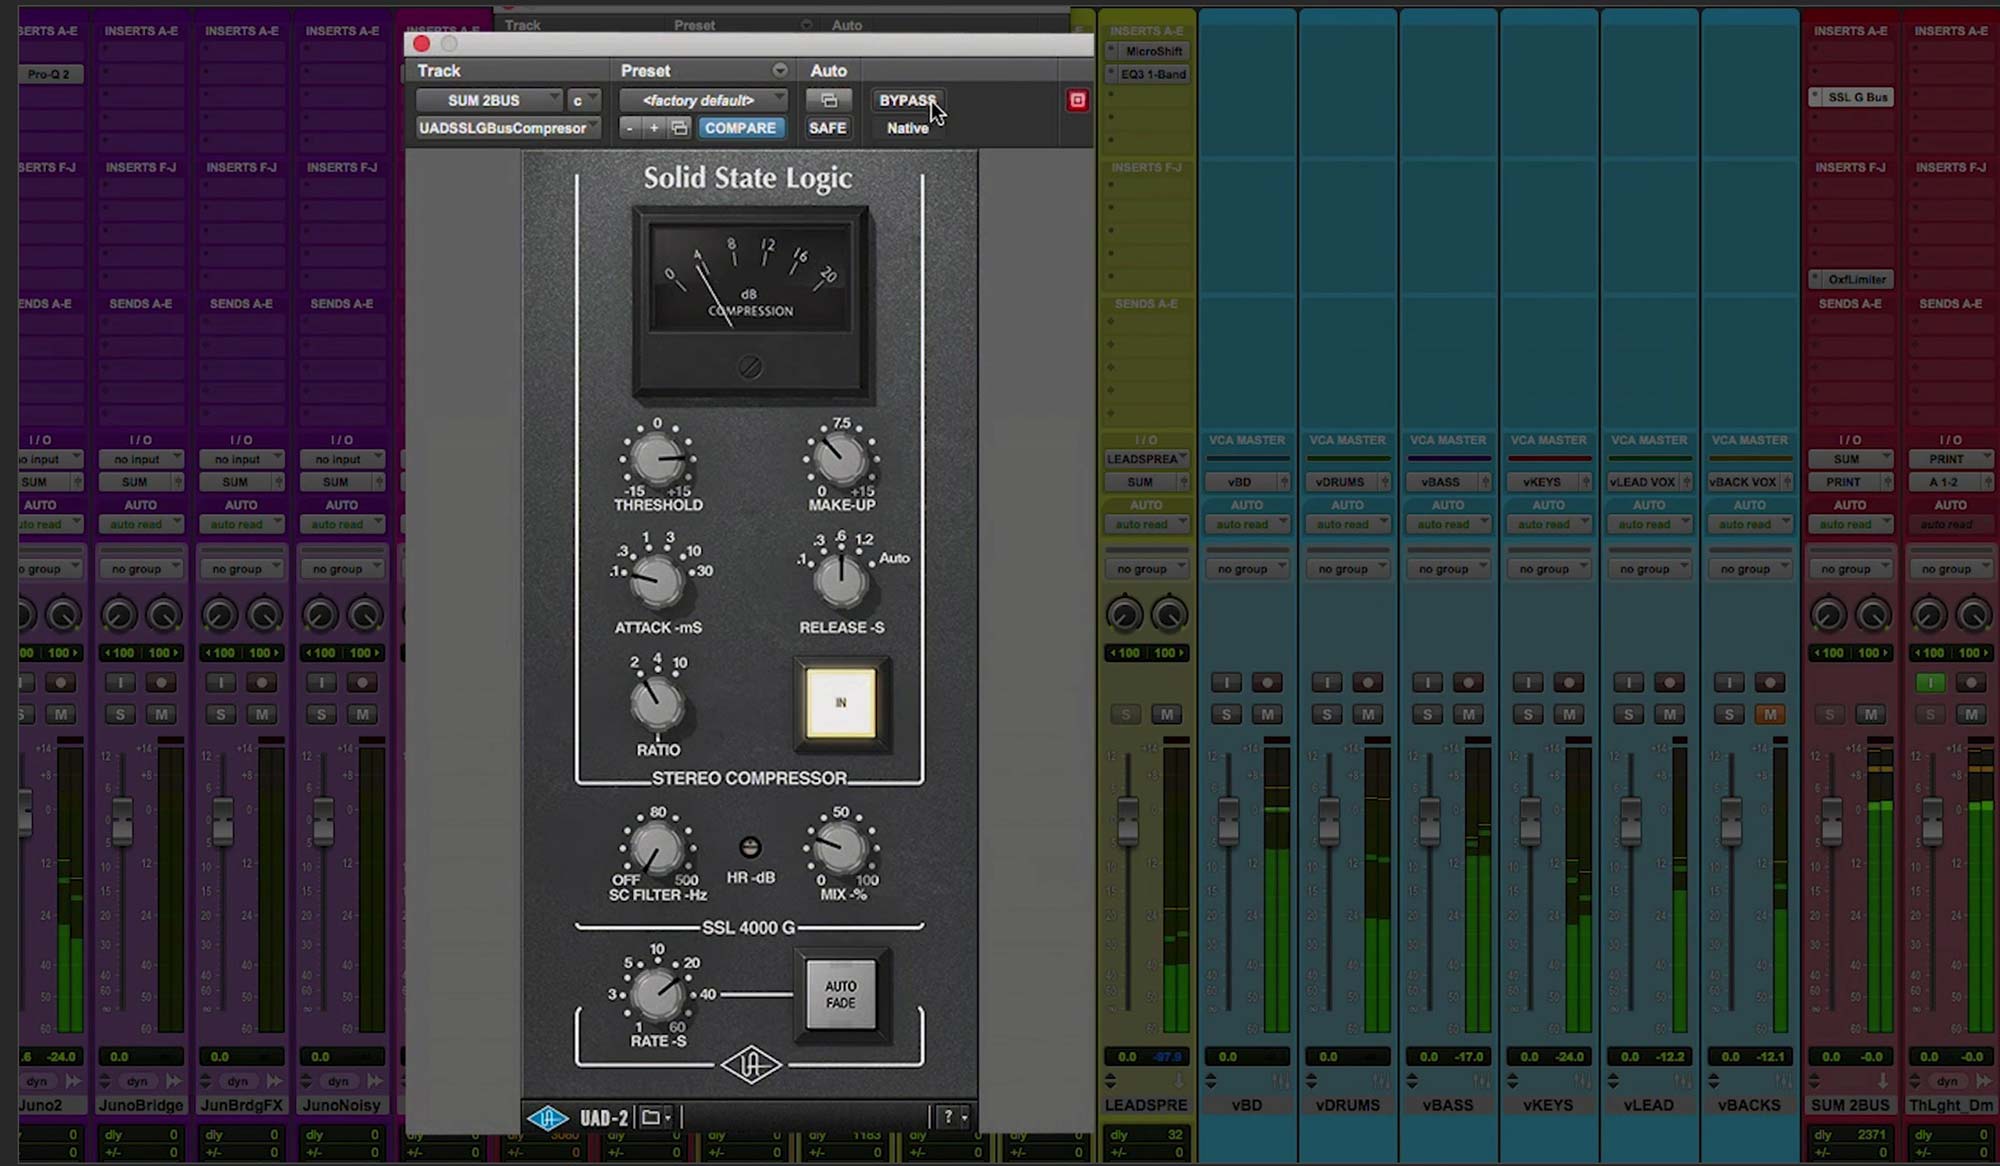
Next, he demonstrates how you could push it further, by opening the Attack and get some additional punch. He pushes the Attack knob to its slowest setting and drops the Threshold to roughly +7. He also turns the Release to its fastest setting.

In his next setting, he slows down the Attack, which means less transients will be compressed, making it more punchy.
After playing the same section of the mix with the new settings, he observes that it's not sounding so good. By that, he means it's getting over-compressed. He remedies this by backing off the Mix control to create parallel compression. He slowly brings it down to about half (50%). Now it has extra punch. "But," he says, "the needles haven't slowed down."
In case you're wondering, parallel compression is achieved by creating a heavily compressed copy of the source audio and then mixing it back in with the original enough to provide the compression you want. A mix control on a compressor gives you a parallel effect, but it's created oppositely—that is, instead of mixing compressed audio into the dry signal, you're mixing dry audio into the compressed signal.
ON THE ATTACK
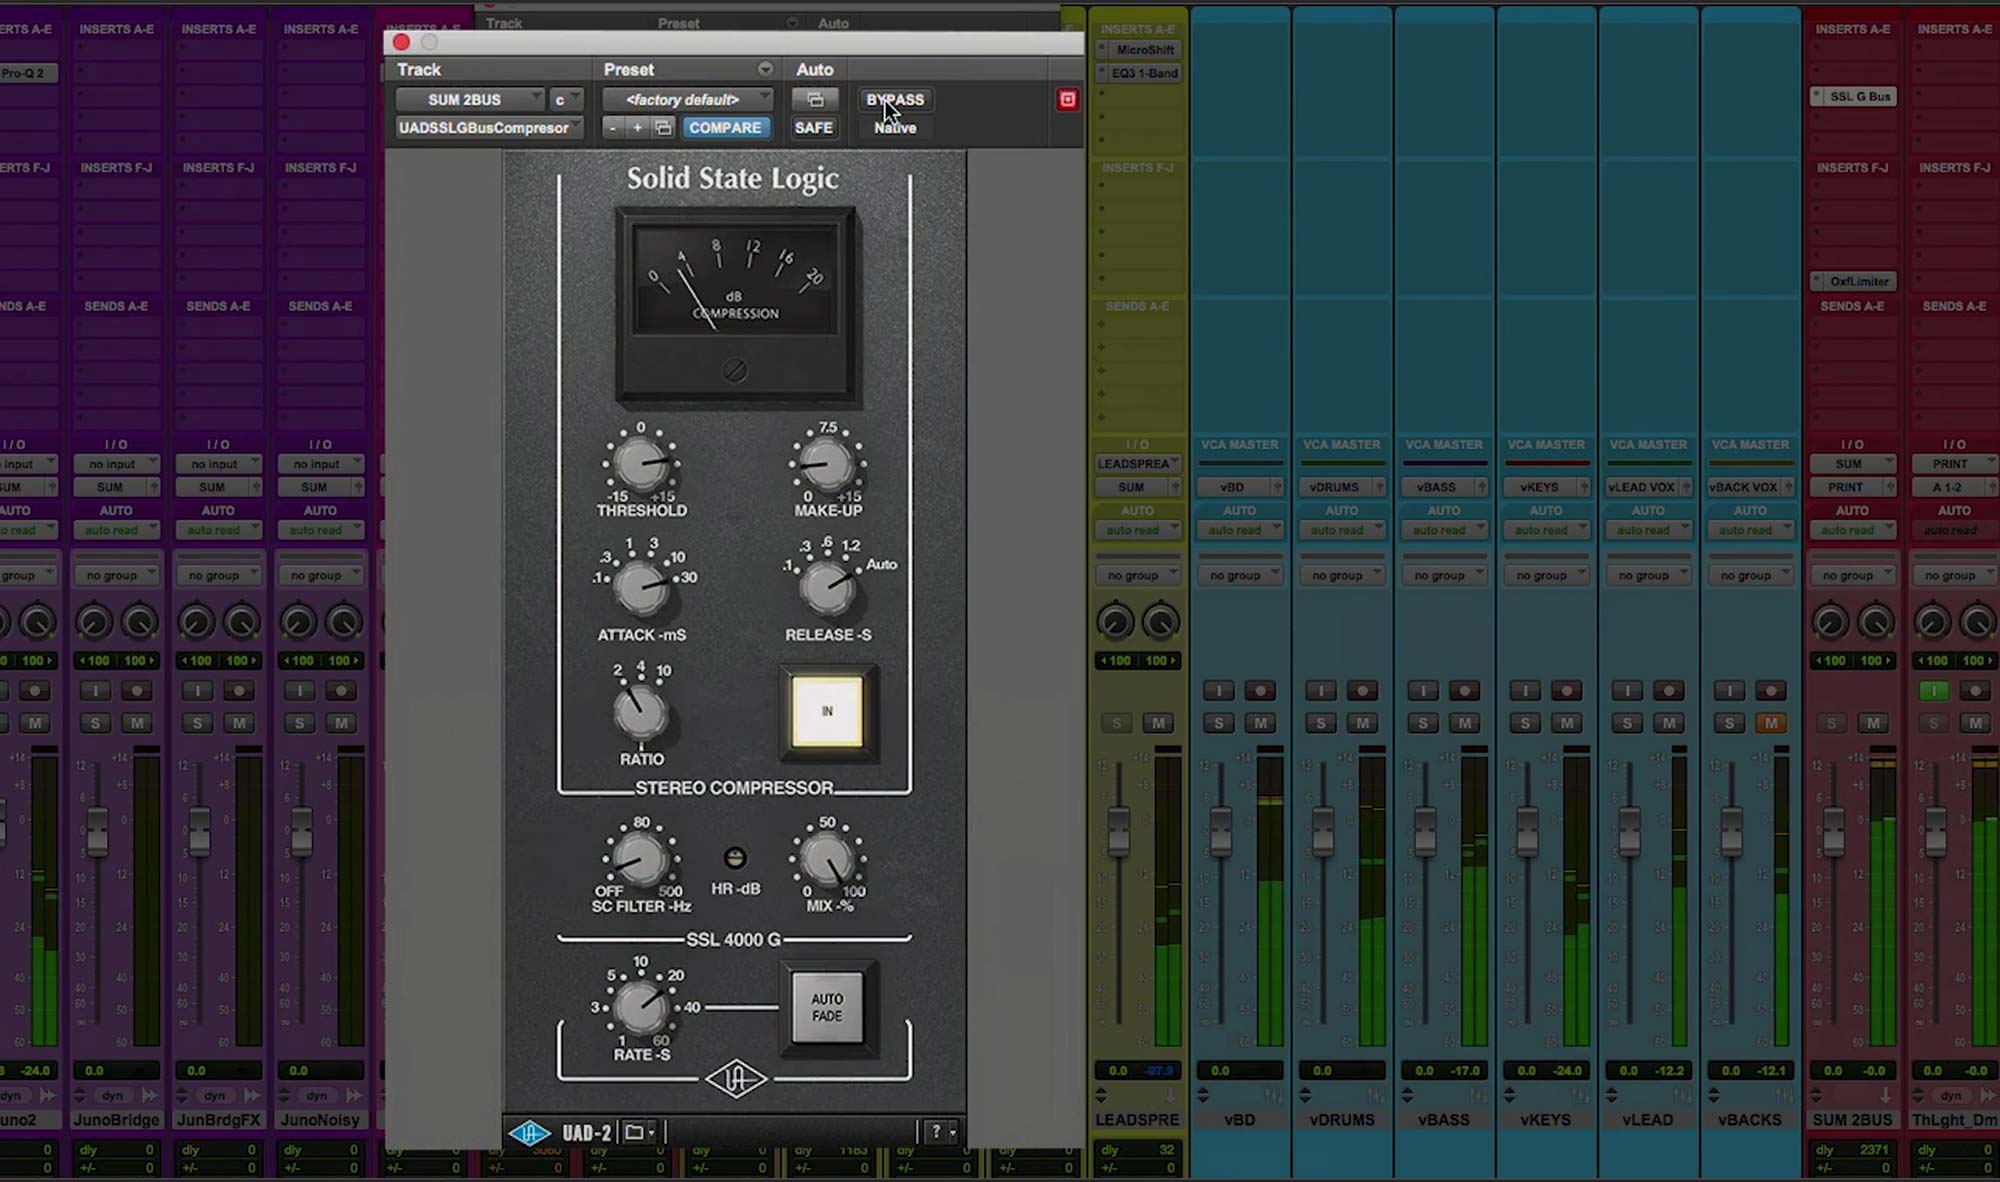
Next, Fab offers another alternative for setting the bus compressor. First, he returns the Mix back to 100%, sets the Attack to its fastest setting, and slows down the Release. The needles are showing almost 8dB of gain reduction at their highest. He notes that the needles are moving more slowly with this setting.
Next, he brings the Mix control down to about 10 o'clock. It achieves the goal of more girth and more density. He says you get transients from the direct sound and "mush" from the compressor.
By lowering the Mix control, and bringing dry signal in along with the compressed audio, you can create parallel compression.
He then suggests another option, which is to leave the same settings but turn the Sidechain Filter (which is a high-pass filter) up high enough that the bass drum is no longer triggering the compressor (more on sidechain filters a little later in this article).
After playing it again, he says that it's working. He notes that from the three different types of settings he just demonstrated, the one he liked the most was the open (slow) Attack with the Auto-Release on, and Mix at 100%. Then he tries it with the Sidechain Filter on. He says he likes it better with the filter set very low, about 8 o'clock (somewhere between 30-40Hz, the control doesn't offer a precise readout). At this setting, he's getting about -4dB of gain reduction.
The setting he likes best in this instance has the Attack set slow, the Auto-Release on, and a little bit of sidechain filtering.
THE WHEELS ON THE BUS
Before going any further, it's important to mention that you don't necessarily need to choose a dedicated bus compressor for your master bus. All sorts of compressor types (and their digital emulations) have been used for this task, including VCA-type compressors (which the SSL that the UAD models are), FET, tube (MU), and optical. You obviously want a compressor that's flattering to the sound of your mix and has all the parameter controls you need to create an effective setting. It's particularly helpful to have an auto-release option.
Now for a couple of examples to further illustrate some of the points Fab discussed in the video, starting with the effect of the attack parameter. For those unfamiliar, attack governs how quickly a compressor acts on audio that exceeds the threshold, and it mainly affects the transients in a mix. For example, a snare drum is usually loud in a mix, and often its transients will trigger compression. If the attack is too fast, they'll get softened, which takes away punch.
Let's listen to the difference between a bus compressor with a fast and slow attack. We'll stay with the same UAD SSL G Buss Compressor plug-in that Fab used. The settings are a bit exaggerated, so you can hear the differences more clearly.
Example 1: For the first four bars, the bus compressor is off. The second four bars, it's on with its slowest Attack, Auto-Release, a 2:1 ratio, and about 4dB of attenuation. For the final four bars, the Attack is set to its fastest setting, with the same Release and Ratio. Because the Attack is set faster, it's compressing a lot more heavily. In fact, the attenuation is almost double in those final four bars than what it was in the middle four, because with the fast Attack setting, it's clamping down the initial transients more. It sounds a lot less "open" with the Attack that fast.
In another part of the video, Fab raised the Sidechain Filter up to keep the kick from triggering the compressor. The reason that works is that bass frequencies have more energy than signals in other frequency ranges, and therefore trigger compressors more heavily. The Sidechain Filter is not affecting the frequency response of the audio output, but rather is on a separate detection circuit, which is what is used to trigger the compressor. So, when you raise the frequency on a sidechain filter, the detection circuit sees less bass, and therefore the bass and kick don't trigger it, or at least trigger it less.
Example 2: In the first four bars, the Sidechain Filter is off. In the next four, it's set at about 90Hz, which brings the kick and bass out more, because they're not triggering the compressor like they were with the Sidechain Filter off. In the final four bars, the Mix control goes from 100% to about 40%, to create parallel compression, and you hear less of the compression overall.